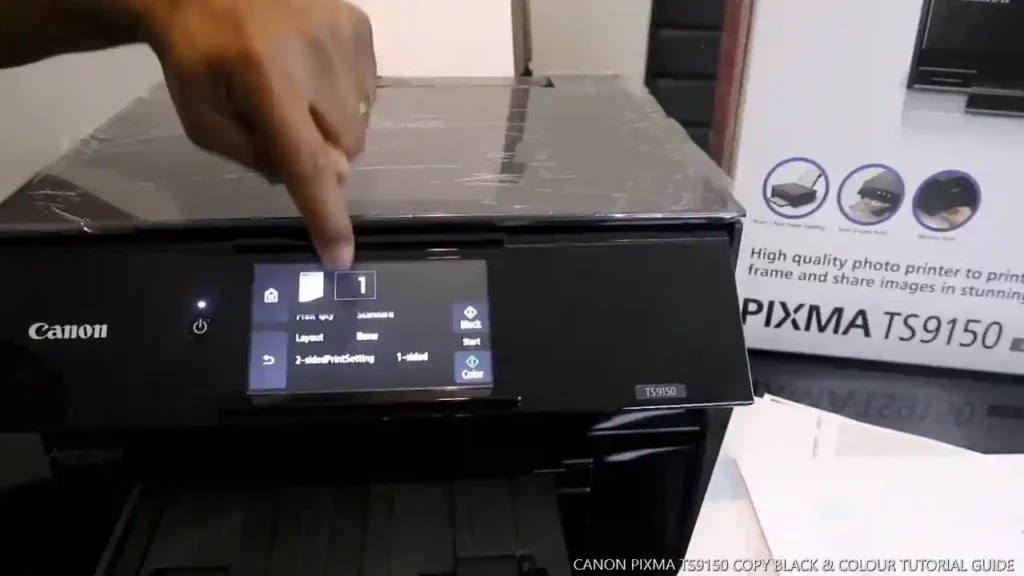
Wondering how to connect Canon PIXMA TS9150 to Wi-Fi? In this blog, I’ll walk you through the process of connecting Canon TS 9150 Printer to Wi-Fi Network using my Canon TS-9151 Printer.
This is a complete step by step on How to connect a Canon Printer to Wireless Network
The Canon PIXMA TS9150 printer is one of the best printer in the market. With it you can print via wifi and other any devices. This printer come with many advanced features like automatic duplexing, built in automatic document feeder, high speed print.
Step-by-Step guide to connect Canon PIXMA TS9150 to WiFi
1. Before connecting your printer to the network, confirm that your wireless router is available and properly set up also that your computer is connected to the network.
2. First make sure your printer is plugged in and turned on the main screen will be lit up and the printer is on .
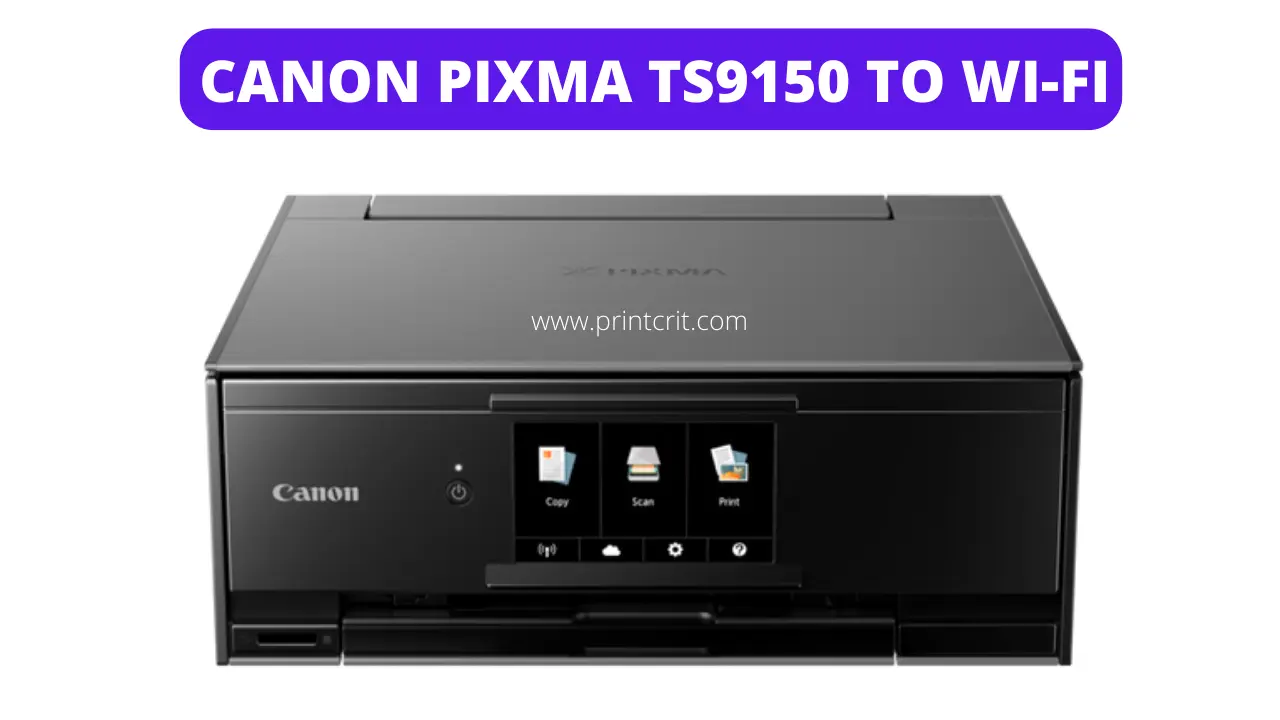
3. Tap the Wi-Fi icon at the bottom left of the screen
4. Now tap wireless LAN set up
5. Then press WPS push button , the screen shows WPS confirmation, tap OK.
6. You may see a button that looks like a blue colour on your wireless router.
7. Now press and hold the WPS button on your wireless router; this must be done within two minutes of activating WPS on your printer.
8. Tap OK when you see this screen connecting to the wireless router .
This will connect your Canon PIXMA TS9150 to Wi-Fi easily in Windows
How to connect Canon PIXMA TS9150 to WiFi on MAC ?
1. Install the software on your Mac and download the installation files from the Canon website .
2. Open the downloaded file on your Mac to get started
3. Click open to start the installation process
4. Click next when prompted enter the administrator name and password you used to set up your Mac
5. Then click install , click on start setup
6. The installation program will attempt to acquire information about the latest drivers and software updates this may take several minutes
7. The license agreement screen will be displayed
8. Click yes to continue the installation
9. Check the connection method screen
10. Click yes to continue with the wireless setup
11. An option will appear asking for access to the Wi-Fi password.
12. If you didn’t save your password you’ll need to enter it to continue
13. Click allowed to proceed when the add printer box appears
14. Click add printer then click add once the printer is added
15. Click next when the print head alignment screen appears
16. Click next now the test print window is displayed if you would like to make a test print load plain paper into the printer
17. Click start after test printing
18. Printer is now connected to your computer now the software will be installed
19. Click next a list of applications will appear make sure that the software you want to install is selected and then click next the software will now be installed
20. Click next at this time you’ll be prompted to register your product if you choose to register at this time a new window will open after registration is complete you can continue with the installation if you would like to create a shortcut for the online manual you can do so here
21. Select an option then click next when this screen appears click exit to complete the installation congratulations this completes the set up of your Canon PIXMA printer to a wireless network using a Mac and WPS now you’re ready to print or scan.

Final
It’s the best printer for me. I use it for printing my photos and documents. The prints are clear and sharp with high quality. Its Wi-Fi is also very helpful for me. I can print from anywhere in my home. I have also used it for scanning documents and it works great. I will recommend you to use this printer as it has many features and is worth the price.

Hi, I’m Mukesh and I’m an SEO expert and blogger passionate about gadgets, software, and the digital world. I’m constantly reviewing the latest tech trends and optimizing websites to get them ranking higher on search engines. I share my insights with my followers in a simple yet informative way so they too can become tech-savvy experts. Take advantage of my expertise – follow me and get tips on gadgets, software, SEO best practices, online marketing strategies and more!


1 thought on “How to connect Canon PIXMA TS9150 to Wi-Fi”